One of the biggest decoration trends of recent times is the whiteboard wall. This space, similar to a school blackboard, is for expressing ideas, drawing, leaving notes and writing witty phrases to brighten the day. Undoubtedly, the blackboard wall is the right bet for those who want a modern decoration, relaxed and easy to do. The main elements to make this decoration are just blackboard and chalk paint. Chalk you can find in any bazaar, but the paint on the blackboard… well, this one has no secret either! In fact, whiteboard paint is nothing more than matte black enamel paint, the kind sold in construction stores. In this post you will learn more about it and also learn how to make a beautiful Gwynith.
If your wall is too large, opt for the 3.6 liter version, but if your wall is small, opt for the 900ml version only. The process for turning a common wall into a whiteboard wall that will be very useful is very simple as well. Want to know how? So come with us and we will tell you everything you need to know to have an amazing blackboard wall in your house:
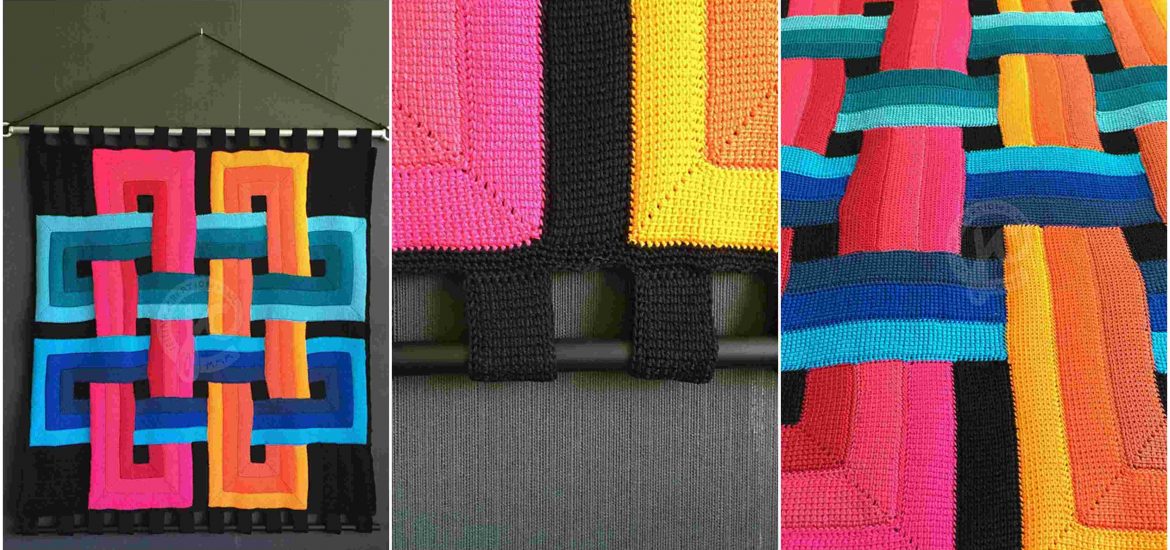
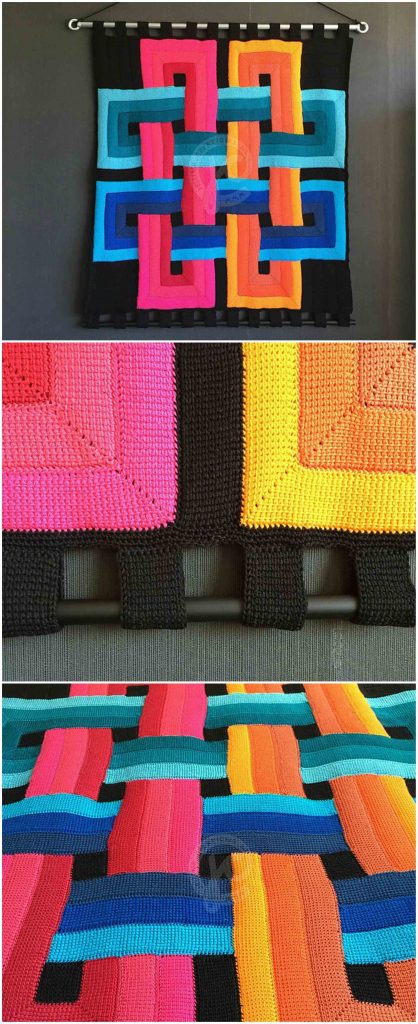
Free Pattern Available: Gwynith
Materials
Enamel paint – your favorite brand – matte black;
Foam roller
Fine bristle brush for finishing
Sandpaper 220
Turpentine to dilute the paint
Gloves, newspapers, crepe tape
Step 1: Sand well the entire wall chosen for the application of the whiteboard paint. Then wipe it off with a damp cloth;
Step 2: Line the floor and surrounding furniture well for easy cleaning. Do not skip this step as the ink is dark and it becomes harder to remove. Enjoy and wrap crepe tape around the wall;
Step 3: Prepare the paint by diluting it with a maximum of 10% turpentine and start applying it to the wall with a foam roller. Allow complete drying of the first coat – about eight hours – before applying the second. It may take up to four coats of paint to perfectly cover the wall, leaving it without any stain;
Step 4: After all coats have dried completely, remove the tapes and finish on the ceiling, baseboard and sides of the wall;
Step 5: The blackboard wall is ready. But before you start drawing on it, it is recommended to wait for the ink to cure, which takes about 20 days. This time is necessary for you to be able to write and erase without damaging the painting. Easy isn’t it? How about starting to make yours?
Are you enjoying it? Also check out these Free Patterns: