Quilted Drawstring Backpack Tutorial
This tutorial will guide you through creating a charming quilted drawstring backpack, perfect for daily use or as a unique gift.
I. Materials and Tools
You will need the following materials and tools:
-
Fabric:
-
Assorted cotton prints for the quilted body (scraps work great for a patchwork look).
-
Solid fabric for the bottom band and straps (suggested: dark green or complementary color).
-
Lining fabric (cotton).
-
Fabric for the flap.
-
-
Interfacing/Batting:
-
Quilting batting (low-loft cotton or polyester) for the main body panels.
-
Fusible fleece or heavy interfacing for the flap and bottom band for structure.
-
-
Notions & Hardware:
-
Drawstring cord or rope (about 2.5 – 3 yards total).
-
Lace or trim for decoration (optional, about 1 yard).
-
One large button for the flap closure.
-
Sewing thread (matching and contrasting for quilting).
-
Magnetic snap or hook-and-loop tape (Velcro) for the flap closure (optional, instead of the button).
-
-
Tools:
-
Sewing machine.
-
Rotary cutter, mat, and ruler.
-
Pins and/or clips.
-
Iron and ironing board.
-
Fabric scissors.
-
II. Cutting the Pieces
Sizes are approximate and can be adjusted.
| Piece | Fabric | Dimensions (W x H) | Quantity |
| A: Main Body (Quilted) | Assorted Scraps | 10″ x 14″ | 2 (Front & Back) |
| B: Bottom Band | Solid/Contrast | 10″ x 4″ | 2 |
| C: Flap | Flap Fabric | 8″ (width) x 6″ (height) | 2 (1 exterior, 1 lining) |
| D: Drawstring Casing | Contrast/Lining | 10″ x 3″ | 2 |
| E: Lining (Main) | Lining Fabric | 10″ x 18″ | 2 |
| F: Straps | Solid/Contrast | 4″ x 30″ | 2 |
| G: Hanging Loop | Solid/Contrast | 4″ x 5″ | 1 |
| H: Drawstring Anchor Tabs | Solid/Contrast | 4″ x 4″ | 2 |
Note: Add a 1/4″ to 3/8″ seam allowance to all edges.
III. Step-by-Step Instructions
A. Prepare the Quilted Panels (Piece A)
-
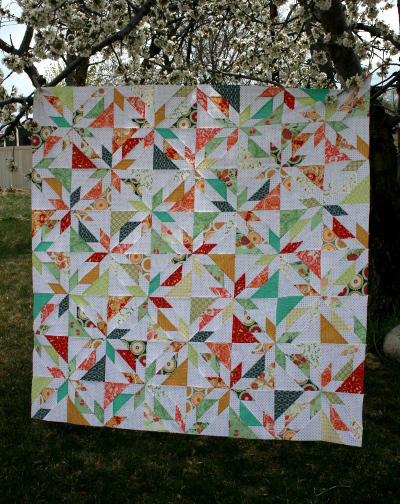
Piece the Body: Use the assorted scraps to create a patchwork panel that is slightly larger than the required 10″ x 14″ (e.g., 11″ x 15″). Square it up to the correct size afterward.
-
Quilt: Create a “quilt sandwich” with the patchwork panel, batting (Piece A size), and a scrap lining/muslin fabric underneath.
-
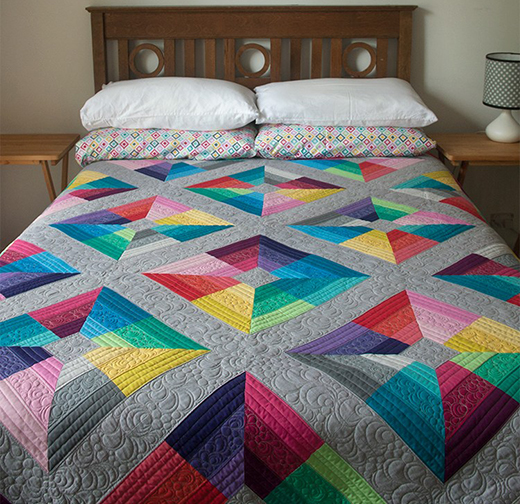
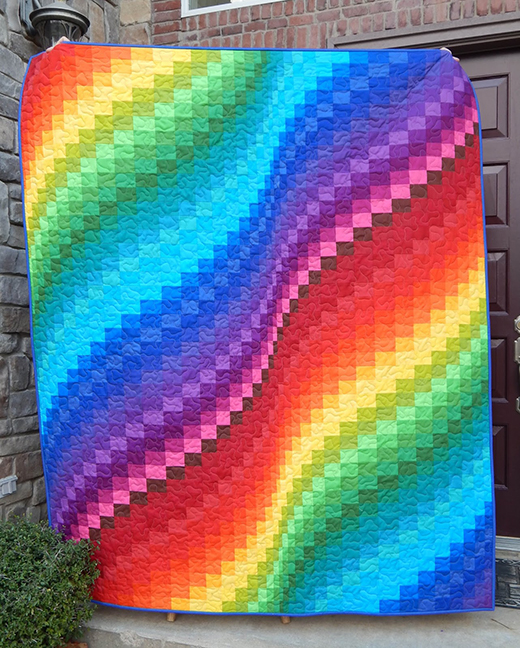
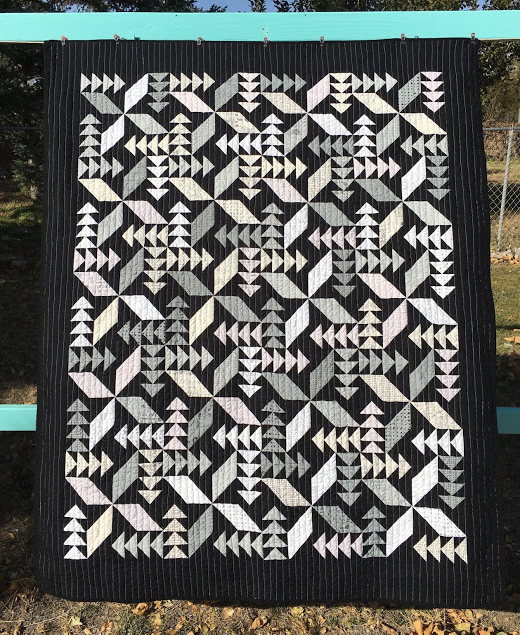
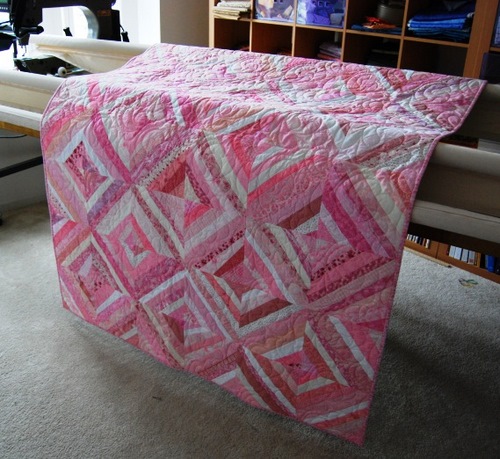
Stitch: Quilt the panel using straight lines (like the picture), or free-motion quilt. Trim the quilted panel to the final 10″ x 14″ size. Repeat for the second panel.
B. Construct the Bottom Band (Piece B) and Apply Trim
-
Interface: Apply fusible fleece or heavy interfacing to the wrong side of the two 10″ x 4″ bottom band pieces (B).
-
Attach Trim (Optional): Pin the lace or trim horizontally onto the right side of the bottom band piece, about 1″ up from the bottom raw edge. Stitch it in place.
-
Assemble Bag Front/Back: Sew the bottom edge of a quilted panel (A) to the top edge of a bottom band piece (B), right sides together. Press the seam toward the bottom band. Repeat for the other panel.
C. Sew the Flap (Piece C)
-
Shape: Place the two Flap pieces (C) right sides together. Draw the desired curve/shape for the flap bottom and cut through both layers.
-
Stitch: Sew around the curved edge, leaving the straight edge open for turning. Clip the curves.
-
Turn & Press: Turn the flap right side out and press well. Topstitch along the curved edge for a finished look.
-
Button Placement: Attach one part of your closure (e.g., the female side of a magnetic snap, or sew the decorative button if it’s purely decorative) to the center of the outer flap. If using a functional button and buttonhole, skip the button for now.
D. Prepare Straps (F), Loop (G), and Anchor Tabs (H)
-
Hanging Loop (G): Fold the 4″ x 5″ piece in half lengthwise, right sides together, and stitch. Turn right side out and press. Fold in half crosswise.
-
Straps (F): Fold the 4″ x 30″ strap pieces in half lengthwise, right sides together, and stitch. Turn right side out and press. Topstitch down both long sides.
-
Anchor Tabs (H): Fold the 4″ x 4″ pieces in half, then fold the raw edges to meet the center crease. Topstitch around the edges. Fold in half to make a 2″ square loop.
E. Assemble the Exterior Bag
-
Pin Flap & Loop: On the back quilted panel/bottom band assembly, center the raw edge of the flap (C) at the top edge and pin. Pin the Hanging Loop (G) next to the flap. Baste these in place.
-
Pin Straps: On the bottom band (B) of the back panel, pin the raw edges of the straps (F) to the bottom edge, about 2″ in from the sides. Make sure the straps are not twisted.
-
Attach Anchor Tabs: On the bottom band (B) of the front panel, pin the raw edges of the Anchor Tabs (H) to the bottom edge, about 2″ in from the sides.
-
Sew Exterior: Place the front and back exterior pieces right sides together. Pin and sew down both sides and across the bottom, leaving the top edge open.
F. Prepare the Lining (E) and Casing (D)
-
Sew Casing (D): Sew the two 10″ x 3″ casing pieces end-to-end to create a loop. Press the seam open. Fold the loop in half lengthwise, wrong sides together, and press.
-
Attach Casing to Lining: Place the casing loop over the top edge of one Lining piece (E), aligning the raw edges. Baste the casing in place.
-
Assemble Lining: Place the two Lining pieces (E) right sides together. Pin and sew down the sides and across the bottom, leaving a 4-5″ turning gap in the center of the bottom seam.
G. Finishing the Bag
-
Insert Exterior into Lining: Turn the exterior bag right side out. Place the exterior bag inside the lining bag (which is still wrong side out), so the right sides are facing each other. Align the top raw edges and side seams. Pin around the entire top.
-
Stitch Top: Sew all the way around the top edge of the bag.
-
Turn: Reach into the turning gap in the lining bottom and pull the entire bag right side out.
-
Close Gap: Hand-stitch or machine-stitch the turning gap in the lining closed.
-
Tuck and Topstitch: Push the lining down into the bag. Press the top edge well. Topstitch around the top of the bag, close to the seam, to secure the lining and create a crisp edge.
-
Create Drawstring Channels: Topstitch again about 1 inch below the first topstitching line. This creates the channel for the drawstring.
H. Drawstring and Final Touches
-
Insert Drawstrings: Cut the drawstring cord into two equal lengths. Using a safety pin or bodkin, thread the first cord all the way around the bag and back out the same opening. Tie the ends together. Repeat for the second cord, starting and ending on the opposite side.
-
Secure Drawstrings: Feed the knotted ends of the first cord through one Anchor Tab (H) loop, and the second cord through the other Anchor Tab (H) loop. Knot the cords again or use cord stops (toggles).
-
Complete Flap Closure: Hold the bag closed and determine the correct placement for the male part of the magnetic snap or the buttonhole for the button. Secure the closure piece to the front of the bag body.

