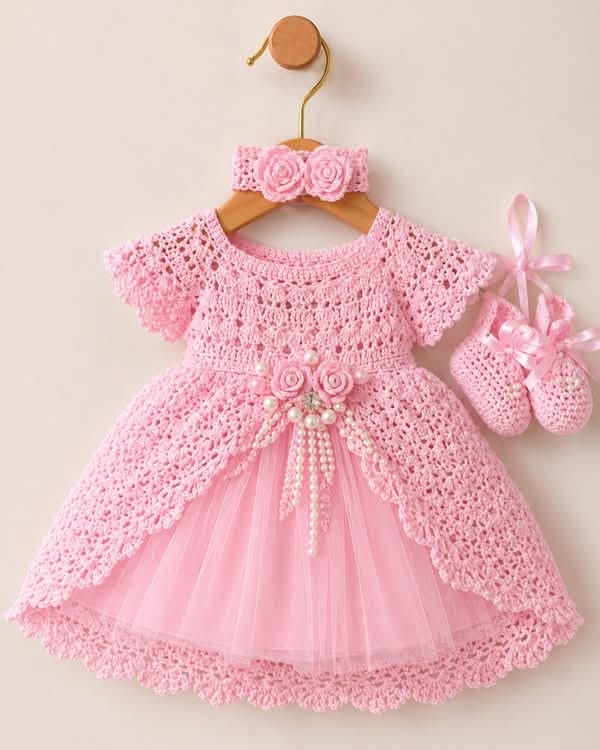
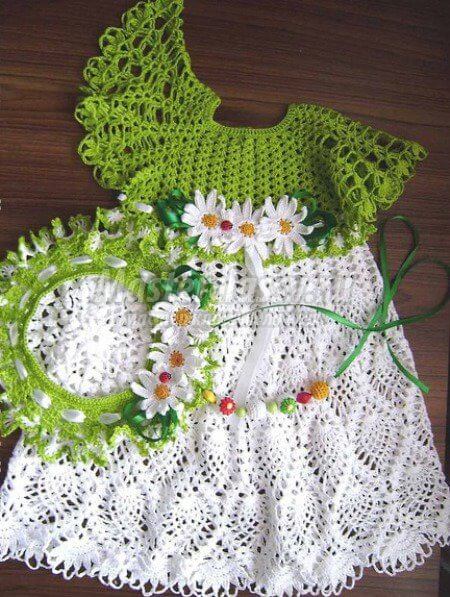
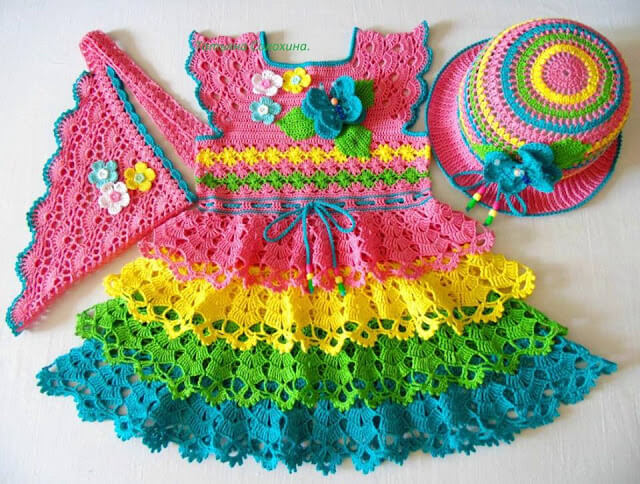
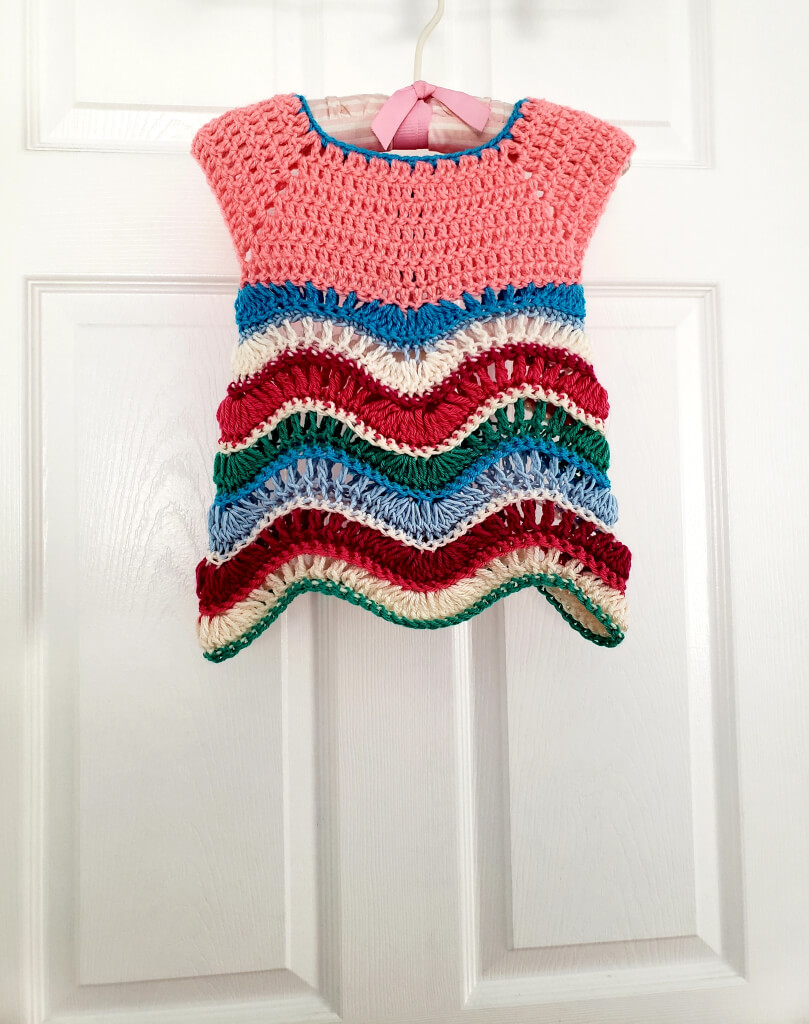
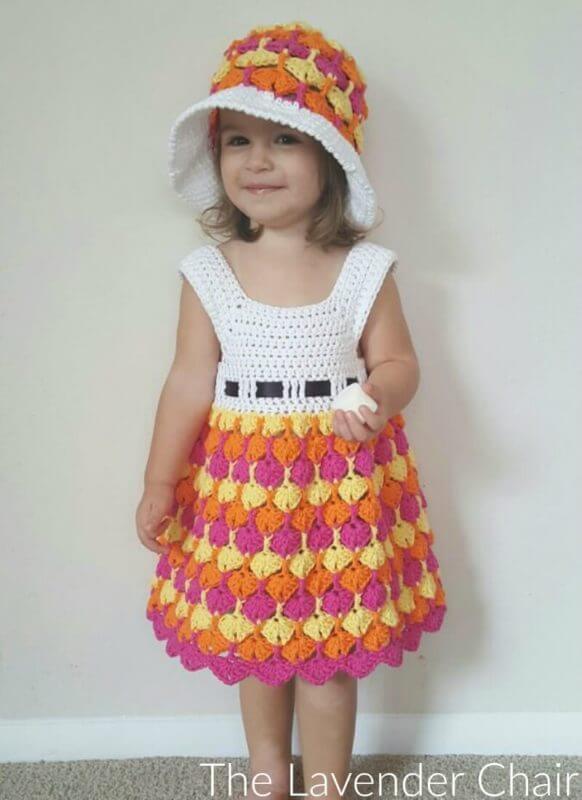
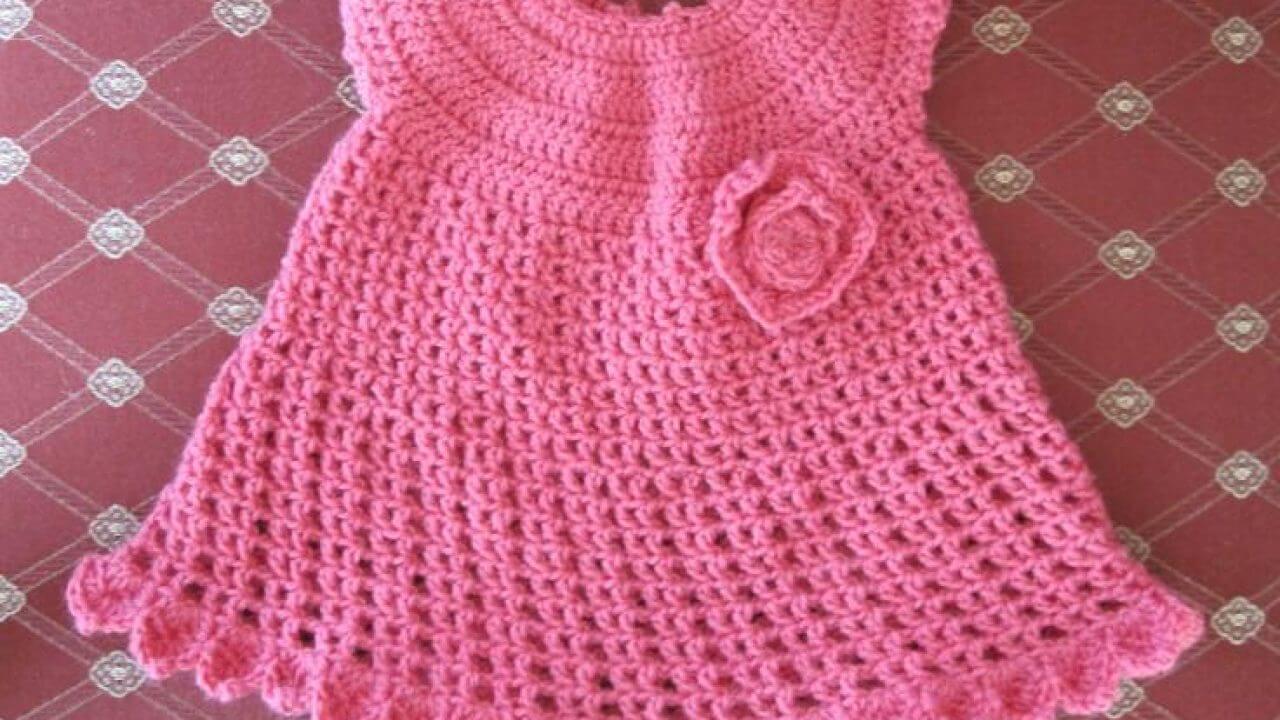
Princess Pink Crochet & Tulle Baby Dress Set
Project Overview & Materials
- Skill Level: Intermediate
- Suggested Sizing: 3–6 months (Adjustable by changing the initial neckline chain count).
- Yarn: Fine weight (Size 2 / Sport weight) 100% combed cotton or soft acrylic baby yarn in pastel pink.
- Hook Size: 2.5 mm or 3.0 mm (depending on your tension gauge).
- Additional Materials:
- Soft pink tulle fabric (approx. 1 to 2 yards).
- Pink satin ribbon ($\frac{1}{4}\text{-inch}$ width for booties).
- Faux pearl beads (varying sizes for the bodice drape).
- Three small fabric or crochet rosettes.
- Sewing needle and matching pink thread.
Part 1: The Dress Bodice & Yoke
The dress is worked from the top down starting at the neckline.
Step 1: The Neckline Base
- Chain 64. Join with a slip stitch to the first chain to form a ring (ensure it isn’t twisted).
- Round 1: Chain 3 (counts as first double crochet), work 1 Double Crochet (DC) in each chain around. Join with a slip stitch to the top of the initial ch-3 (64 stitches).
Step 2: The Round Yoke Increases
- Round 2 (Increase Round): Chain 3, 1 DC in the same stitch. 1 DC in next 3 stitches, 2 DC in the next stitch. Repeat from * to * around. Join.
- Round 3 (Lace Pattern Introduction): Chain 4 (counts as DC + ch-1), skip 1 stitch, DC in next stitch. Chain 1, skip 1, DC. Repeat from * to * around to create a classic grid/mesh row. Join.
- Round 4 (Shell Increase Row): Sl st into the first ch-1 space. Chain 3, work 2 DC in the same space. Skip next space, work 3 DC in the next ch-1 space. Repeat around to form small 3-DC clusters. Join.
Step 3: Dividing for the Sleeves
Fold your circular yoke flat to identify your front, back, and armholes.
- Row 5: Work across the back stitches in the established shell pattern, chain 5 (underarm space), skip the designated sleeve stitches, work across the front stitches, chain 5, skip the second sleeve stitches, and join to the first stitch.
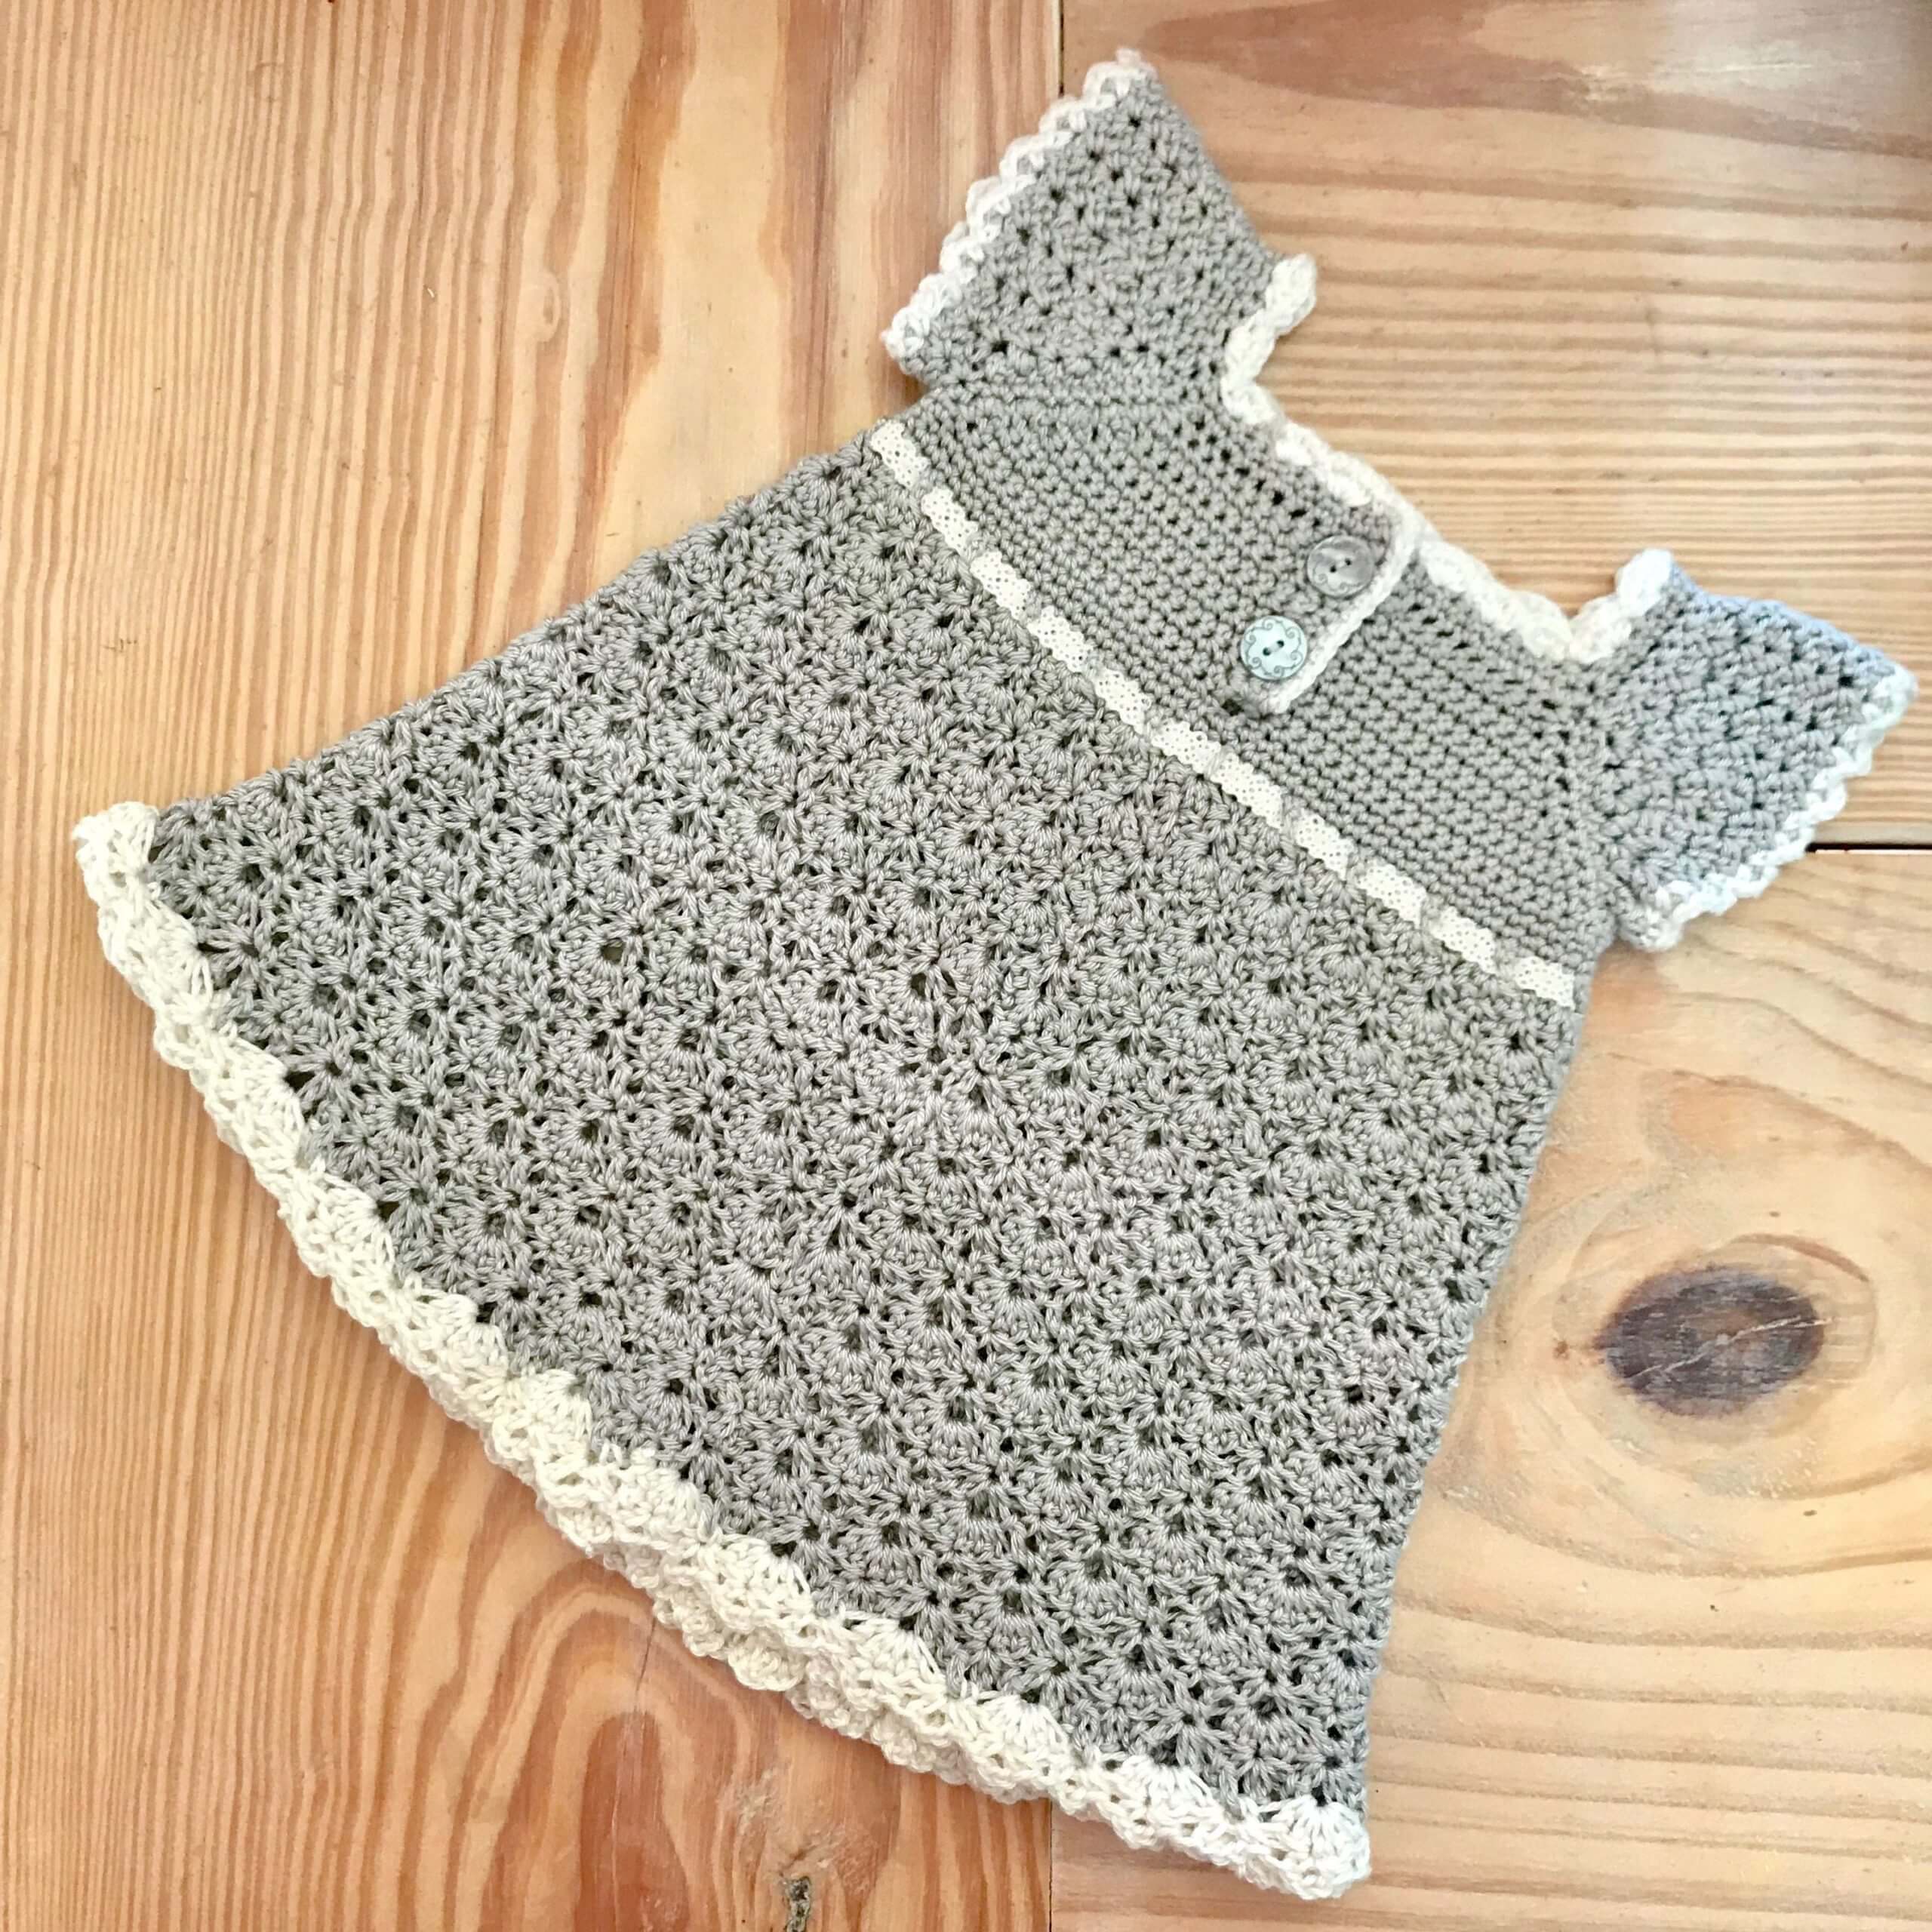
- Sleeve Edging: Attach yarn to the skipped sleeve loops. Work a shell stitch pattern ($5 \text{ DC}$ in one stitch, skip 2, single crochet in next, skip 2) around the sleeve openings to create the beautiful ruffled cap sleeve effect seen in the photo.
Part 2: The Asymmetrical Overlay Skirt
Instead of working completely in the round, the skirt is worked in rows back and forth to leave an open triangular gap in the front for the tulle to peek through.
- Row 1 (Waistband): Work 1 row of solid DC into the bottom of the bodice and underarm chains.
- Row 2 (Lace Pattern): Turn your work. Work a V-Stitch pattern ($\text{DC, ch-1, DC}$ in the same stitch), skip 2 stitches, repeat across, leaving the center-front 10-12 stitches unworked.
- Row 3 to 15 (Increasing Openwork): Continue the pattern back and forth. To create the curved, cascading front edge, decrease 1 pattern cluster at the beginning and end of every second row. This naturally creates the upward slope toward the waistline.
- The Border Finish: Work a scalloped edge along the entire bottom hemline and up the inside edges of the front slit: [6 DC in one stitch, skip 1, SC in next, skip 1] around.
Part 3: Sewing the Tulle Underskirt
- Measure the length from the dress waistband to the bottom of the crochet scallop hem.
- Cut 4 to 6 layers of tulle that are twice this measured length (for folding bulk) and roughly 3 times the width of the waistband.
- Gather the top of the tulle layers using a long running stitch with a regular sewing needle.
- Pull the threads tightly to gather the tulle until it matches the width of the inside waistband.
- Hand-sew the gathered tulle securely to the inside of the crochet waistband.
Part 4: Accessories & Embellishments
The Pearl Bodice Embellishment
- Thread your sewing needle with strong pink thread.
- Sew three rosettes to the center waist.
- Thread your pearls in descending size order onto multiple strands of thread to create the elegant cascading tear-drop fringe hanging down over the front tulle. Secure each strand tightly behind the rosettes.
The Matching Headband
- Band: Chain a length that matches the baby’s head circumference minus 1 inch (for stretch). Work 3 rows of the lace mesh pattern ($\text{DC, ch-1, skip 1}$). Join the ends together.
- Decor: Sew two matching crochet or fabric rosettes onto the seam.
The Matching Booties
- Sole: Chain 11. Work DC around both sides of the chain, increasing 4 stitches at the toe and heel turns for 3 consecutive rounds to create an oval sole.
- Sides: Work 2 rounds of solid DC without increasing to build up the walls.
- Toe Reduction: On the next round, decrease 6 times across the front toe area to shape the foot.
- Ankle Cuff: Work 2 rounds of the open mesh pattern ($\text{DC, ch-1}$) to create eyelet holes. Thread a pink satin ribbon through the holes to tie into a bow. Finish the toe with tiny pearl accents.
Pro-Tips for Commercial-Quality Results
- Block the Overlay: Cotton yarn tends to shrink or stiffen slightly after stitching. Pin-block the asymmetrical skirt overlay before sewing the tulle on. This relaxes the lace stitches and makes the front drape gracefully.
- Tulle Comfort: Tulle can sometimes be scratchy on delicate infant skin. Consider sewing a simple, lightweight cotton fabric slip layer directly underneath the tulle layers to act as a soft barrier.
- Secure the Pearls: Since this is a baby garment, ensure every single pearl bead is double-knotted and stitched with heavy-duty thread to avoid any safety hazards.